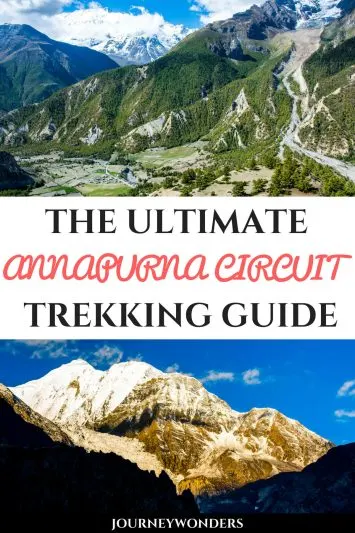
The Annapurna Circuit Trek is one of Nepal’s best treks ever. Here’s the Ultimate Trekking Guide to conquer the Annapurna Circuit including Trek costs, the best season to visit, what to pack, where to sleep, and much more!!!
Namaste from Nepal my wonder friends!!! How have you been? Me? I feel very blessed to be back to one of my favorite countries in the entire world.
And hey, did you know that last year I attempted to do the most important parts of the Annapurna Circuit Trek in less than 9 days?
Well, in case you didn’t know I was extremely short of time after the Himalayan Travel Mart Conference but I wanted to see the BEST views of the Annapurna Mountain Range so I arranged a crazy itinerary of wonders for myself.
Spoiler Alert? Acute Mountain Sickness (AMS) got to me eventually and I had to turn back but trust me, the experience was extremely positive and unforgettable.
Here’s my epic Annapurna Circuit Trek Itinerary of Wonders showcasing both the short and the longer versions of the Trek.
Enjoy my wonder friends and Namaste!!!
Annapurna Circuit Trek Itinerary
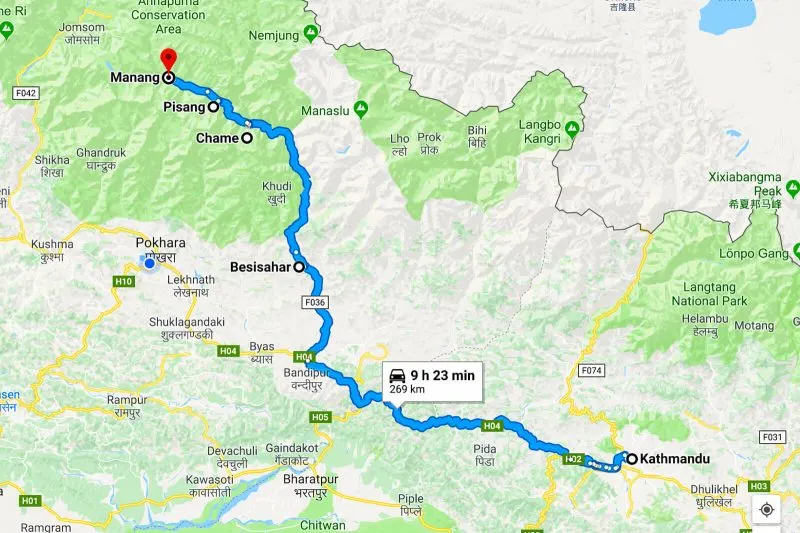
Day 1: Kathmandu to Besisahar (760 m) and the TIMS & ACAP Permits
As usual, all great hiking journeys begin in Kathmandu (check out my article about the Best Day Trips from Kathmandu here!!!), the chaotic yet beautiful capital of Nepal.
And of course, this trek, like most of the popular ones of Nepal, require you to jump through a few hoops of paperwork before you even set one foot on the trail.
So, drink a cup of chai tea with an extra dose of patience and take a taxi (or walk for 15 minutes if you’re in the Tamel area) to the Nepal Tourism Board offices located in Pradarshani Marg.
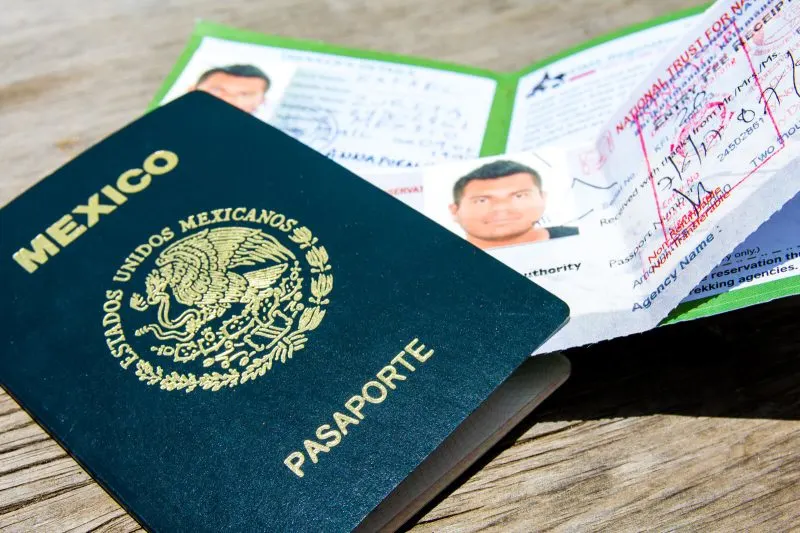
To do the Annapurna Circuit Trek you basically need to buy two separate permits. First is the Trekkers’ Information Management Systems (TIMS) which will set you back around 10 USD plus the Annapurna Conservation Area Project (ACAP) which will set you back 20 USD.
Yes, in theory you can get both permits via an agent or directly at the start of the trail but it is better to do it directly with the Nepal Tourism Board to avoid paying handling fees and to get it done on the very same day (depending on the number of people waiting it can take from 20 to 60 minutes).
Keep these two papers next to your passport and be ready to present them when asked by the rangers of the Annapurna area!!! Once you’re all set, take a public bus from Kathmandu to Besisahar (8 hours, 7 USD) and get some rest.
Tomorrow the adventure begins!!!
Day 2: Besisahar to Chame (2,650 m)
I hope you’re inmune to nausea my friends because today is going to be a REALLY bumpy ride through the lower mountain areas of Nepal since the jeep will ascend from 760 to 2650 meters.
Early in the morning, just walk towards the jeeps that are in the northern area of the town of Besisahar and wait for it to be filled in order to begin your journey to Chame, the most convenient starting point of the Annapurna Circuit Trek.
Prices will vary depending on the color of your skin, your haggling skills and basically how much the driver likes or dislikes you but I recommend NOT paying more than 20 USD for a one way ride.
So wait, Raphael, why didn’t you trek from Besisahar to Chame?
Well, there’s basically two reasons for that. The first one, is of course, time since you need at least 3 extra days to trek the 65KM from Besisahar to Chame which was time I didn’t have.
The second reason? The road from Besisahar to Chame is REALLY dusty since most of the time you will be trekking alongside the road that the jeeps take plus this section is not even remotely close to being as picturesque as the Chame to Manang trek.
My best advice? Even if you have the time, skip the Besisahar to Chame trek and enjoy more day treks once you’re in Manang.
Day 3: Chame to Upper Pisang (3,300 m)
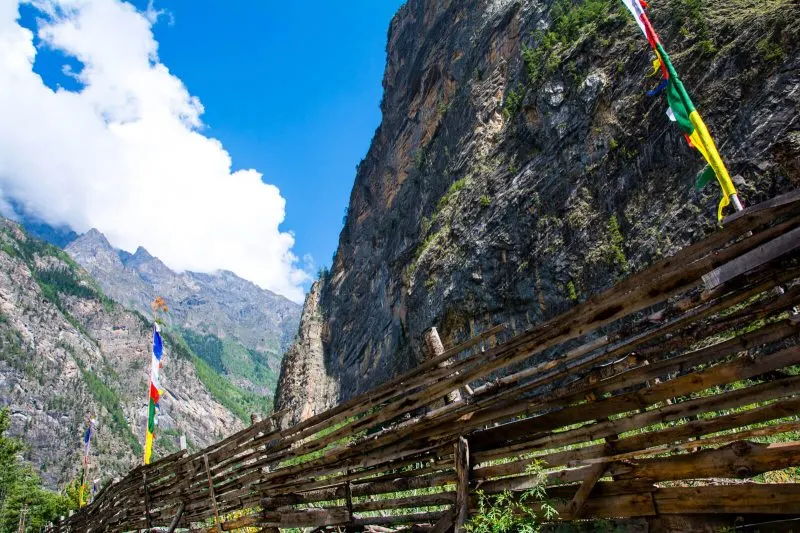
NOW we’re talking!!! After two days of bureaucracy, traffic and bumpy roads it is time to get your legs moving and start hiking alongside the beautiful Annapurna Mountain Range my friends!!!
Today’s altitude gain will be close to 700 meters but unlike other hikes, this hike will be mostly on a open area (I REALLY dislike those forest claustrophobic hikes) which will make every single second more beautiful than the previous one.
There’s close to 14KM separating Chame from Upper Pisang and the recommended time is 4 to 5 hours although my best advice is for you to start at sunrise, get some well-deserved rest mid-way then continue trekking once the harsh sunlight is gone.
And well, if you downloaded any Nepalese Map (personally, I used Maps Me) or have a physical one you will notice that there’s actually TWO towns called Pisang: Lower Pisang and Upper Pisang.
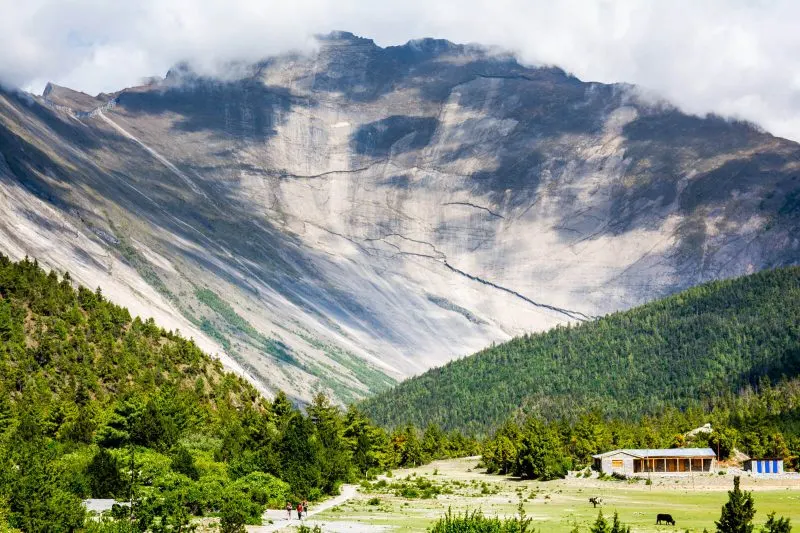
Despite its name, Upper Pisang is ONLY 100 meters higher than Lower Pisang BUT the extra effort on getting there is well rewarded since the views are not only better but it will help you acclimatize faster than if you chose to stay the night at Lower Pisang.
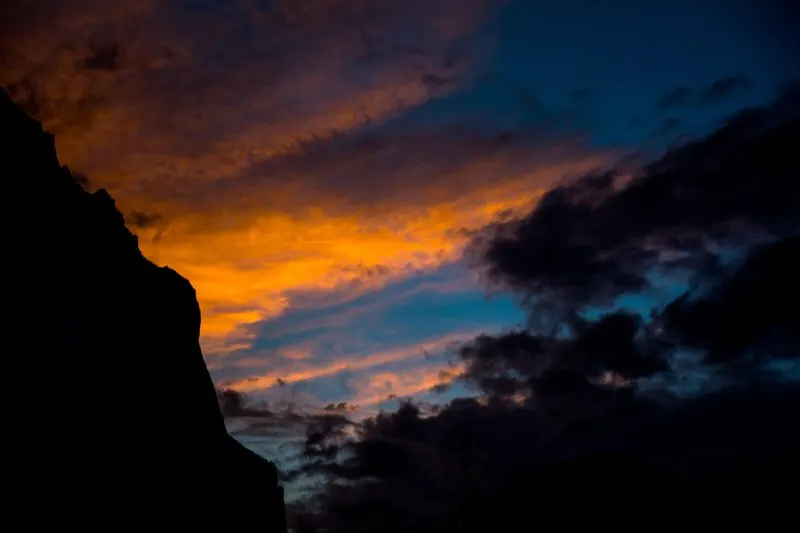
And yes, you can also enjoy sunsets of wonders such as this one as the sun rests behind the Annapurna Mountain Range and blesses our journey. Pretty rad, uh?
Day 4: Upper Pisang to Ghyaru (3,730 m) to Manang (3,519 m)
On the Annapurna Circuit Trek, you have two options to go from Upper Pisang to Manang: the lower shorter path or the high altitude longer path. Today’s altitude gain is not as bad so I really recommend you to try the longer path.
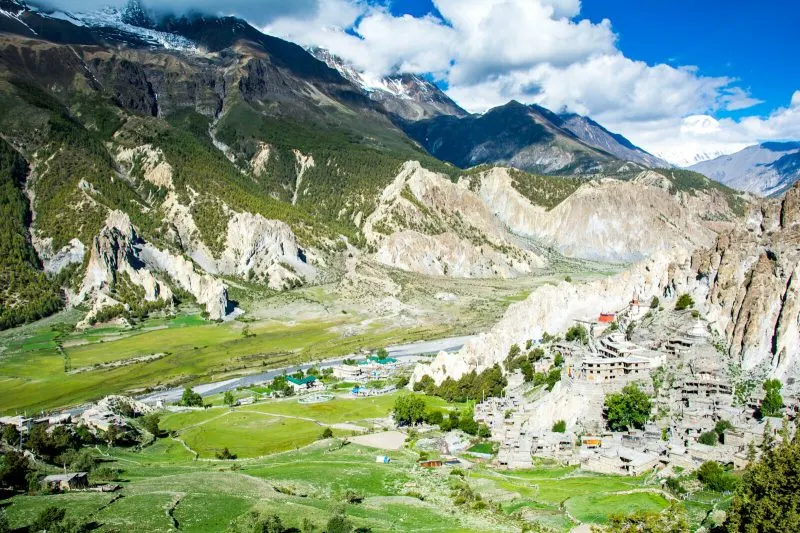
Other than an easier acclimatization process, the main advantage of the high altitude path is getting to know the many Buddhist Villages (did you know that Nepal is 80% Hindu and only 10% Buddhist? Check out more Fun Facts of Nepal here!!!) on the way of which Gyharu stands out as the most emblematic one.
PS. Is it just me or does the architecture of these Buddhist Tibetean towns reminds you a little bit of Macchu Pichu?
The high altitude longer path from Upper Pisang to Manang via Ghyaru will take you 19.5 KM to complete which translates to about 7 hours although, as I said before, I recommend you that you take it easy in order to fully enjoy the views of the Annapurna Mountain Range.
Trekking isn’t a race and the beauty of the Annapurna Circuit Trek is that there’s no such thing as guest house reservations (more on that later) so you can just spend the night whenever you want if you feel tired.
And yes, I recommend you to always look behind you every 10 to 20 minutes: sometimes THE best views can only be appreciated if you turn back your head!!!

Day 5 Manang to the Ice Lakes (4,650 m) and Back
Manang was my last stop in the Annapurna Circuit Trek because even though I wanted to visit Tilcho Lake and conquer the Thorung-La Pass I was short on time and I didn’t acclimatize properly in my rush to see the best Annapurna viewpoints with my limited time.
Was I sad to not be able to complete the Annapurna Circuit? Not at all! During each day of the journey I had this mantra playing on a loop inside of my head:
“Raphael, be the best version of yourself you can be. This isn’t a challenge of you against others, it’s a challenge of the old you versus the new you”.
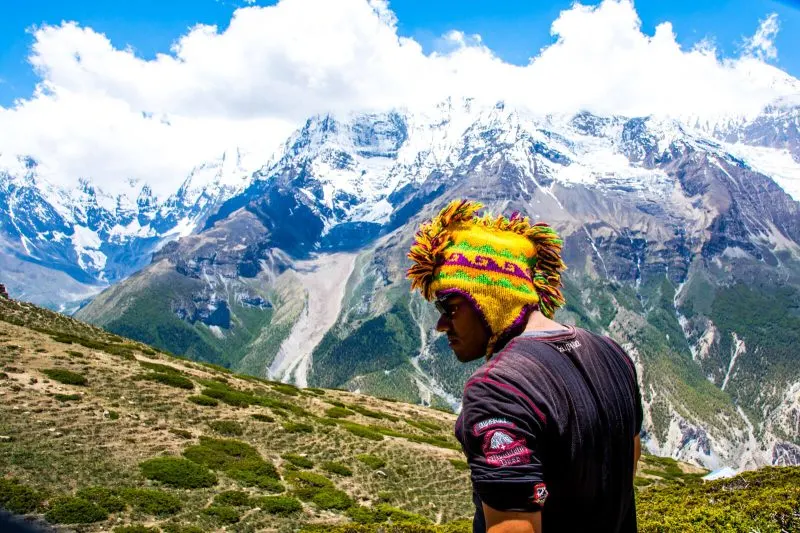
And yes, on my way to the 4650 meters above sea level Ice Lake near Manang (which is a very good option to get acclimatized if this is your first encounter with high altitude treks and can be done as a day trip from Manang), I fainted.
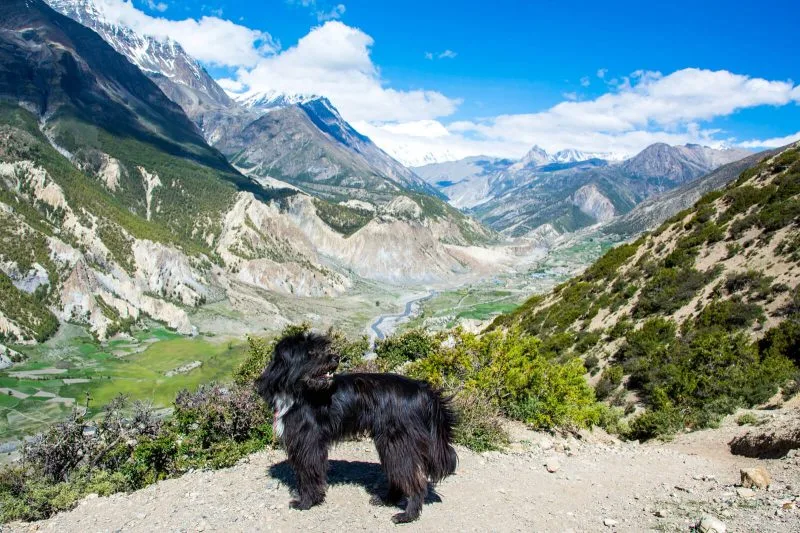
Truth be told, if it wasn’t for this friendly dog (whom I nicknamed Vishnu in honor of the Hindu God of Preservation) that came to lick my face I don’t know how long I would have spent there on a day where no other trekker attempted this off the beaten path day trip (that’s what I get for traveling in low season with no guide or trekking partners I guess).
In the end, just 2 kilometers away from the Ice Lake, my head began to hurt…A LOT. Breathing got harder and harder. It was time to make a choice: turn back or go ahead and take my chances….
I’m not ashamed to say that I chose to turn back.
Day 6: Manang to Besisahar (760 m)
My original plan to rush trough the Annapurna Circuit Trek in order to finish in Kagbeni and take a jeep back to Pokhara via Jomsom (complete itinerary included below) had failed and without the privilege of having extra acclimatization days in Manang, I had no choice other than to turn back the very same way I came from.
Luckily, it IS possible to book a jeep from Manang to Besisahar (in theory you can do the opposite by jeep but where’s the fun in that?) for 50 USD, you just need to go to the parking lot at the exit of Manang the day before in order to reserve your seat.
If you’re traveling in low season, you MIGHT have to wait a few days (or pay the driver for a private transfer) and if you’re in a bad weather season the road might be REALLY dangerous for any sane driver to challenge.
And trust me, if you thought the road from Besisahar to Chame was bad enough, the road from Manang to Chame (and then Chame to Besisahar) isn’t really better despite being mostly a straight line so if you have a good responsible driver, be ready to spend close to 10 hours inside a very slowly moving jeep.
After all, safety should always come first so even though I heard it IS possible to be able to catch the last bus from Besisahar to Kathmandu on the very same day you descend from Manang, it is wise to make the assumption that you will have to spend a night in Besisahar and depart to Kathmandu the next morning.
The road from Besisahar to Kathmandu is more curvy than a Mexican Lady so you don’t really wanna drive there by nighttime anyways!
Day 7: Besisahar to Kathmandu (1,400 m)
Finally, it was time for my journey to end and on the long bus ride back to Kathmandu I had time to actually reflect on what happened on that fateful trek from Manang to the Ice Lakes.
You see my friends, there are more important things that pride, hubris and blind ambition…sometimes giving up is the best way to move forwards in order to reach higher goals.
A defeat is nothing more than a motivation in order to win the next time: the mountains might have won this battle but the war is still ongoing.
I have now become the best version of myself that I can be in this specific moment in time and even though this journey ended in a bittersweet note, it has also motivated me to find the endurance to always keep trying and trying even though the first dozen attempts end in a pyrrhic victory.
This 2018 I set myself to goal to embark on as many multi-day treks as possible and even though my Everest Base Camp Trek in Nepal got cancelled due to bad weather, I already made myself the promise to come back this October in order to conquer more mountains of wonders.
Endurance is what will bring you closer to your goals my wonder friends and remember: always aim to be the best version of yourself that you can be.
And I’m proud to say that right now I am.
How to Continue the Annapurna Circuit Trek from Manang Onwards
If you have additional days and you feel comfortable with altitude gains, you can continue from Manang to Tilicho Lake (4,918 m), camp there one night then return to Manang (1 night, 2 days) from which you can continue the Annapurna Circuit to reach the Western Side of it finishing in Pokhara:
- Annapurna Circuit Itinerary Day #6: Manang to Tilicho Lake (4,918 m).
- Annapurna Circuit Itinerary Day #7: Tilicho Lake to Manang (3,519 m).
- Annapurna Circuit Itinerary Day #8: Manang to Yak Kharka (4,035 m).
- Annapurna Circuit Itinerary Day #9: Yak Kharka to Thorong Phedi (4,540 m).
- Annapurna Circuit Itinerary Day #10: Thorong Phedi to Muktinath (3,710 m) via Thorong-La (5,416 m).
- Annapurna Circuit Itinerary Day #11: Muktinahth to Kagbeni (2,804 m).
- Annapurna Circuit Itinerary Day #12: Kagbeni to Pokhara (1400 m) via Jomsom (2,743 m).
However, be warned that THE best views of the Annapurna Mountains Range lie on the Eastern Side of the Annapurna Circuit (Chame to Manang) so adjust your expectations accordingly.
When is the Best Time to Do the Annapurna Circuit Trek
Because of Monsoon season (normally June to August but it can either start earlier or finish later), Summer is definitely NOT the ideal time to attempt the Annapurna Circuit Trek leaving Spring and Fall as the two most popular seasons.
Winter, as it is usual, will be very beautiful because of the snow however some trails might end up being closed so plan accordingly. When I did the Annapurna Circuit Trek it was the end of May/beginning of June and I encountered 0 rain with an amazing visibility during the entire trek.
This year, however, Monsoon started earlier so late Spring is always a risk. My best advice? Do it in the Autumn. You can thank me later!
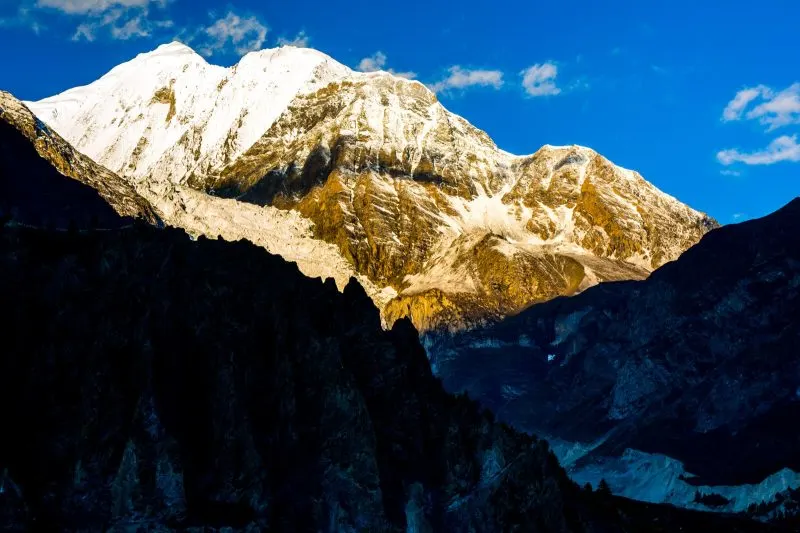
And yes, I would say that no matter which season you end up choosing, waking up to this view of the Annapurna Mountain Range from my guest house in Manang was one of THE best moments ever.
When exploring a city I can understand waking up at a normal time since everything opens relatively late…but if you don’t wake for sunrise when you’re in the wilderness then you’re doing it wrong.
See you in the Autumn my Himalayas of Wonders!!!
What to Pack for the Annapurna Circuit Trek
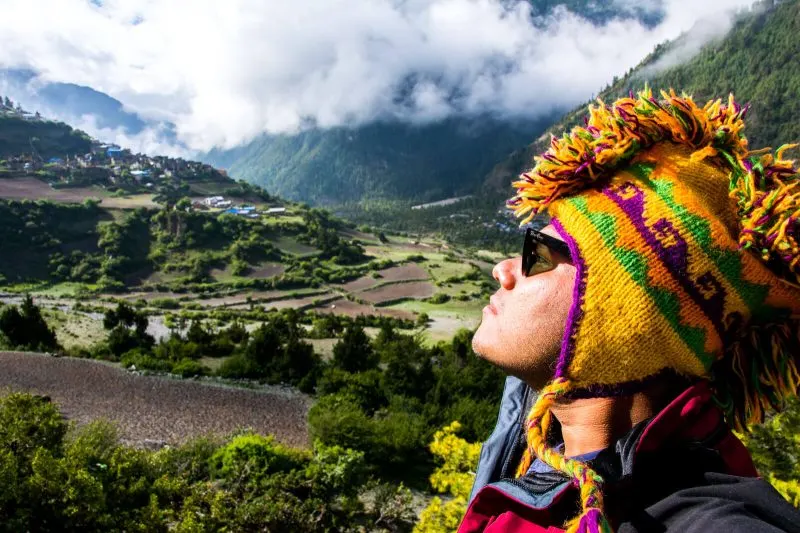
No matter how sunny and hot it is during the day, you NEED a windproof jacket (you can buy a North Fake for 15 USD in Kathmandu) in order to be comfortable at night and also to fight off those rare but powerful mountain winds.
Since this was my FIRST multi-day trek I made the mistake of buying SUPER HEAVY trousers thinking that it was going to be always cold. In hindsight, I should have gotten some light rainproof trousers plus thermal leggings, feel free to check out my Torres del Paine W Trek Guide to see how I learned from my mistakes.
When it comes to items to pack, all I took with me for my week on the Annapurna Circuit Trek was a small 25 liter day pack, two walking poles and a tripod (to take photos of myself duh).
What’s inside the bag you ask me? 4 shirts, 6 pairs of underwear and socks, deodorant, toothpaste, toothbrush, my camera and my laptop (workaholic, I know).
No need to pack food since you HAVE to buy it at the tea houses (more on that later) but feel free to bring some chocolate bars or fruits from Kathmandu.
Unless you’re carrying a sleeping bag or a tent (but then again, WHY would you?) there’s absolutely no need for big backpacks that will only slow you down my wonder friends.
During my Annapurna Circuit Trek I even encountered a traveler that had hired a porter to carry her HUGE backpack. What was inside you ask? Clothes, clothes and more clothes!!!
My best suggestion? Leave most of your heavy stuff at Kathmandu (most hotels and hostels can do it for a small fee or even free) and do laundry at Manang (the middle of the Annapurna Circuit Trek) instead of carrying a week’s worth of clothes.
The Free Trehouses of the Annapurna Circuit Trek
Wait, what? Accommodation is free on the Annapurna Circuit Trek? Well, yes and no.
You see, ALL tea houses have an in-house restaurant and the deal is that as long as you buy dinner OR breakfast off them, you get to sleep in their guest house’s dormitory (sometimes even a private room!!!) for FREE.
Each meal will set you back around 5 USD but the portion is going to be so HUGE that you might feel temped to skip lunch altogether and just wait until dinner.
In total, you can do the ENTIRE Annapurna Circuit Trek spending as little as 10 USD per day (plus transportation from Kathmandu to Besisahar to Chame and Kagbeni to Jomsom to Pokhara and 30 USD of the 2 Permits) making it one of the cheapest treks in the world.
The entire Annapurna Circuit Trek is super easy and well marked so you don’t need neither a guide nor a porter so in total you can do the Annapurna Circuit for LESS than 200 USD.
Crazy how some companies can charge up to 1000 USD uh?
Last but not least, don’t forget to use our Booking.com Affiliate Link of Wonders for making hotel reservations in Nepal and all over the world (except in the teahouses of course!!!).
Same price for you and a small pocket money commission for this website of yours.
Sweet deal, uh?
I hope you have enjoyed this article about the Annapurna Circuit Trek. Don’t forget to subscribe in order to get more awesome updates and tips straight to your e-mail!
Have you ever done the Annapurna Circuit Trek? Would you like to? What are some of your best favorite hikes? Share your thoughts and let me know what you think!
Until next time, my friends!
